Projects
Flintstone Car Photo Prop
July 20, 2011
Heidi is working on a Flintstone Car Photo prop for a friend's party. It was intended to be built with cardboard, but that turned out to be just too flimsy. The car had to be large enough for the kids to sit behind and look like they were the right proportion. Insulation panels were used instead, and it's almost done. Looks pretty cute so far!
If you ever need or want to make one, this is one way to do it. You will need:
- 3 foam insulation panels
- heavy duty box cutter
- hot glue gun
- printed template
- paint in the colors of the car
- ballpoint pen or another pointed tool
- extra-large permanent marker
Click any image for larger view.
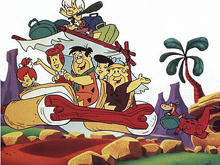
This was one of the photos used for an example.
|
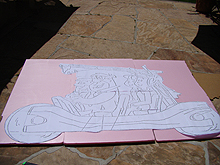
Find a drawing online and enlarge it to print a template. Make sure it is to scale so it's the appropriate size for children. (If that's who will be photographed in it!)
|
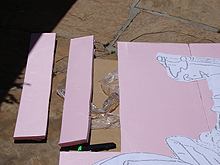
Cut strips of insulation panels from the unused portion.
|
|
|
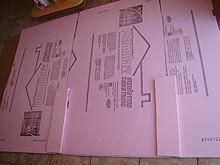
Use a hot glue gun to securly join the panels on the back.
|
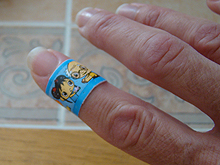
Be careful when working with hot glue guns!
|
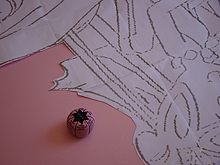
Securly pin the template to the front of the panels using several pins.
|
|
|
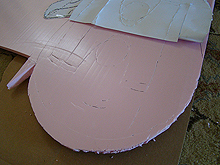
Use a ballpoint pen to go over all the lines in the template. My template included Fred & Wilma, so of course I left them out. I also made my car a 1-seater. The pen will cut through the paper a little, but it's OK. It will leave a nice dent in the foam. Outline the entire template with the pen.
|
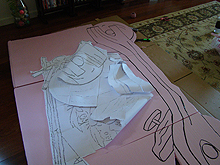
Check to be sure the lines are making a good impression. Then, remove the template and go over the impressions with a huge black permanent marker.
|
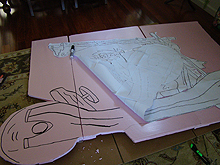
Cut the outline of the template with a heavy-duty box cutter.
|
|
|
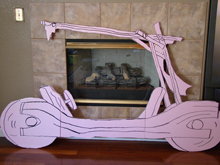
This is the finished cutout.
|
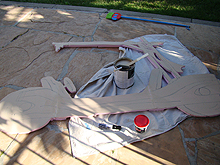
I used a neutral color Latex paint to cover it first, so the colors would go on well. The impressions from the lines and the marker still were faintly visible, so it is easy to put the final thick marker lines on again after the paint is done. This will give it that cartoon look.
|
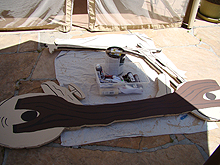
Starting to paint the colors.
|
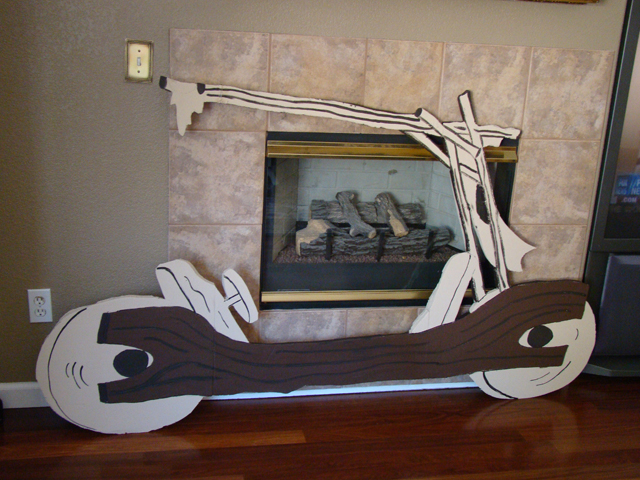
Looking good so far!
|
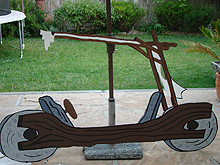
After the color goes on, go over the lines again with a very thick permanent marker. The bottom has been done, and now I just need to go over the top with the pen.
|
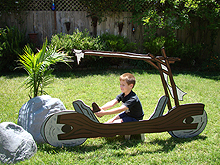
Looks like a great photo prop!.
|
|
|
|
|
<< Back to Projects
|
